Add Responses and Suggestions to FeedbackDataset#
In this part of the end-to-end tutorial series, we will see how we can update the records of our dataset with the responses and suggestions. You can refer to previous tutorials for creating the dataset, configuring the users and workspaces or adding metadata. Feel free to check out the practical guides page for more in-depth information.
In Argilla, responses are the answers that the annotators give to the questions that we ask them. If we have a dataset that has been annotated already, we can add these gold responses to our dataset as responses. This comes in handy in that we will not have to annotate the dataset again. On the other hand, suggestions are the model predictions that we show to our annotators in the UI during the annotation process. This way, the annotation process will become much faster and easier for
the annotators.

Table of Contents#
Running Argilla#
For this tutorial, you will need to have an Argilla server running. There are two main options for deploying and running Argilla:
Deploy Argilla on Hugging Face Spaces: If you want to run tutorials with external notebooks (e.g., Google Colab) and you have an account on Hugging Face, you can deploy Argilla on Spaces with a few clicks:

For details about configuring your deployment, check the official Hugging Face Hub guide.
Launch Argilla using Argilla’s quickstart Docker image: This is the recommended option if you want Argilla running on your local machine. Note that this option will only let you run the tutorial locally and not with an external notebook service.
For more information on deployment options, please check the Deployment section of the documentation.
Tip
This tutorial is a Jupyter Notebook. There are two options to run it:
Use the Open in Colab button at the top of this page. This option allows you to run the notebook directly on Google Colab. Don’t forget to change the runtime type to GPU for faster model training and inference.
Download the .ipynb file by clicking on the View source link at the top of the page. This option allows you to download the notebook and run it on your local machine or on a Jupyter notebook tool of your choice.
First, let’s install our dependencies and import the necessary libraries:
[ ]:
!pip install argilla
!pip install datasets transformers
[6]:
import argilla as rg
from datasets import load_dataset
from transformers import pipeline
from datetime import datetime
from argilla._constants import DEFAULT_API_KEY
In order to run this notebook we will need some credentials to push and load datasets from Argilla and 🤗 Hub, let’s set them in the following cell:
[ ]:
# Argilla credentials
api_url = "http://localhost:6900" # "https://<YOUR-HF-SPACE>.hf.space"
api_key = DEFAULT_API_KEY # admin.apikey
# Huggingface credentials
hf_token = "hf_..."
Log in to argilla:
[ ]:
rg.init(api_url=api_url, api_key=api_key)
Enable Telemetry#
We gain valuable insights from how you interact with our tutorials. To improve ourselves in offering you the most suitable content, using the following lines of code will help us understand that this tutorial is serving you effectively. Though this is entirely anonymous, you can choose to skip this step if you prefer. For more info, please check out the Telemetry page.
[ ]:
try:
    from argilla.utils.telemetry import tutorial_running
    tutorial_running()
except ImportError:
    print("Telemetry is introduced in Argilla 1.20.0 and not found in the current installation. Skipping telemetry.")
Pull the Dataset#
As we uploaded the dataset that we created in the previous tutorial to both Argilla and HuggingFace Hub, we can pull the dataset from either of them. Let us see how we can pull the dataset from both.
From Argilla#
We can pull the dataset from Argilla by using the from_argilla method.
[ ]:
dataset_remote = rg.FeedbackDataset.from_argilla("end2end_textclassification")
From HuggingFace Hub#
We can also pull the dataset from HuggingFace Hub. Similarly, we can use the from_huggingface method to pull the dataset.
[ ]:
dataset = rg.FeedbackDataset.from_huggingface("argilla/end2end_textclassification")
Note
The dataset pulled from HuggingFace Hub is an instance of FeedbackDataset whereas the dataset pulled from Argilla is an instance of RemoteFeedbackDataset. The difference between the two is that the former is a local one and the changes made on it stay locally. On the other hand, the latter is a remote one and the changes made on it are directly reflected on the dataset on the Argilla server, which can make your process faster.
Let us briefly examine what our dataset looks like. It is a dataset that consists of data items with the field text that is yet to be annotated.
[8]:
dataset[0].fields
[8]:
{'text': "Wall St. Bears Claw Back Into the Black (Reuters) Reuters - Short-sellers, Wall Street's dwindling\\band of ultra-cynics, are seeing green again."}
Pull the Original Dataset#
As we will be using the gold labels in the original dataset as the responses, we can pull the original dataset from HuggingFace Hub. We can do this by using the load_dataset method.
[9]:
dataset_org = load_dataset("ag_news", split="train[:1000]")
The labels in the original dataset are in the form of integers while we need to present them to the annotators in the form of strings. Therefore, we will create a dictionary that maps the integer labels to their string counterparts.
[10]:
id2label = {0: "World", 1: "Sports", 2: "Business", 3: "Sci/Tech"}
mapped_labels = [id2label[label] for label in dataset_org["label"]]
Add Responses#
Now that we have the original dataset and the dataset that we created in the previous tutorial, we can add the responses. The process is slightly different for the local FeedbackDataset and the RemoteFeedbackDataset. Let us see how we can do it for both.
For the local FeedbackDataset#
For the local instance of the dataset, we can iterate over the data items and add the responses for each item.
[ ]:
for index, record in enumerate(dataset.records):
    record.responses = [
        {
            "values":{
                "label":{
                    "value": mapped_labels[index],
                }
            }
        }
    ]
For the RemoteFeedbackDataset#
For the remote instance of the dataset, we can create a list of the records in the dataset and make the changes on the list. Then, we can update the dataset by the update_records method.
[ ]:
modified_records = [record for record in dataset_remote.records]

for index, record in enumerate(modified_records):
    record.responses = [
        {
            "values":{
                "label":{
                    "value": mapped_labels[index],
                }
            },
            "inserted_at": datetime.now(),
            "updated_at": datetime.now(),
        }
    ]

dataset_remote.update_records(modified_records)
Add Suggestions#
As we have mentioned, suggestions are the predictions by any model of your preference to be added as suggested responses to our dataset. In this tutorial, we will be using the cointegrated/rubert-tiny-bilingual-nli model from the HuggingFace Hub to obtain our model predictions. To obtain the predictions, we will use the pipeline method from the transformers library, which makes it easy to use models for inference.
Let us first load the model. To give us our zero-shot model, we also create a list of the labels that we want to predict.
[13]:
model_name = "cointegrated/rubert-tiny-bilingual-nli"
classifier = pipeline("zero-shot-classification", model=model_name)
candidate_labels = ["World", "Sports", "Business", "Sci/Tech"]
Again, the process is slightly different for the local FeedbackDataset and the RemoteFeedbackDataset. Let us see how we can do it for both.
For the local FeedbackDataset#
For the local instance of the dataset, we can iterate over the data items and add the suggestions for each item by classifying the text with the model at the same time. Additionally, we would like to add the model as the agent of the suggestions for future reference.
[14]:
for record in dataset.records:
    record.suggestions = [
        {
            "question_name": "label",
            "value": classifier(record.fields["text"], candidate_labels)["labels"][0],
            "agent": model_name
        }
    ]
For the RemoteFeedbackDataset#
For the remote instance of the dataset, instead of creating a new modified_records list, we will use the same list with the responses added above. Again, we will be getting the model predictions from the pipeline method as we are iterating over the records. Similarly, we would like to add the model as the agent of the suggestions for future reference. We will use the update_records method to update the dataset at the end.
[ ]:
modified_records = [record for record in dataset_remote.records]

for record in modified_records:
    record.suggestions = [
        {
            "question_name": "label",
            "value": classifier(record.fields["text"], candidate_labels)["labels"][0],
            "agent": model_name
        }
    ]

dataset_remote.update_records(modified_records)
Note that we have split the process of adding responses and suggestions into two for demonstration purposes here. However, you can do both at the same time by iterating over the records only once. In that case, you will need to call the update_records method only once for the remote dataset.
Push the Dataset#
Now that we have added the responses and suggestions to our dataset, we can push the dataset to Argilla. We can do this by using the push_to_argilla method. Please note that you do not have to push the dataset to Argilla if you are using the RemoteFeedbackDataset as the changes are directly reflected on the dataset on the Argilla server.
To Argilla#
If you have opted to pull the dataset from HuggingFace and want to push to Argilla, you can simply use the push_to_argilla method.
[ ]:
try:
    remote_dataset = rg.FeedbackDataset.from_argilla("end2end_textclassification_with_suggestions_and_responses")
    remote_dataset.delete()
except Exception:
    pass
remote_dataset = dataset.push_to_argilla("end2end_textclassification_with_suggestions_and_responses")
Let us go to Argilla and look at the dataset we created. When you first open the dataset, you should the message “You have no pending records” as we have uploaded all the responses and there is no pending record left. As seen below, if you go to the Submitted tab, you can see that all the records are submitted with the exact labels we have uploaded above.
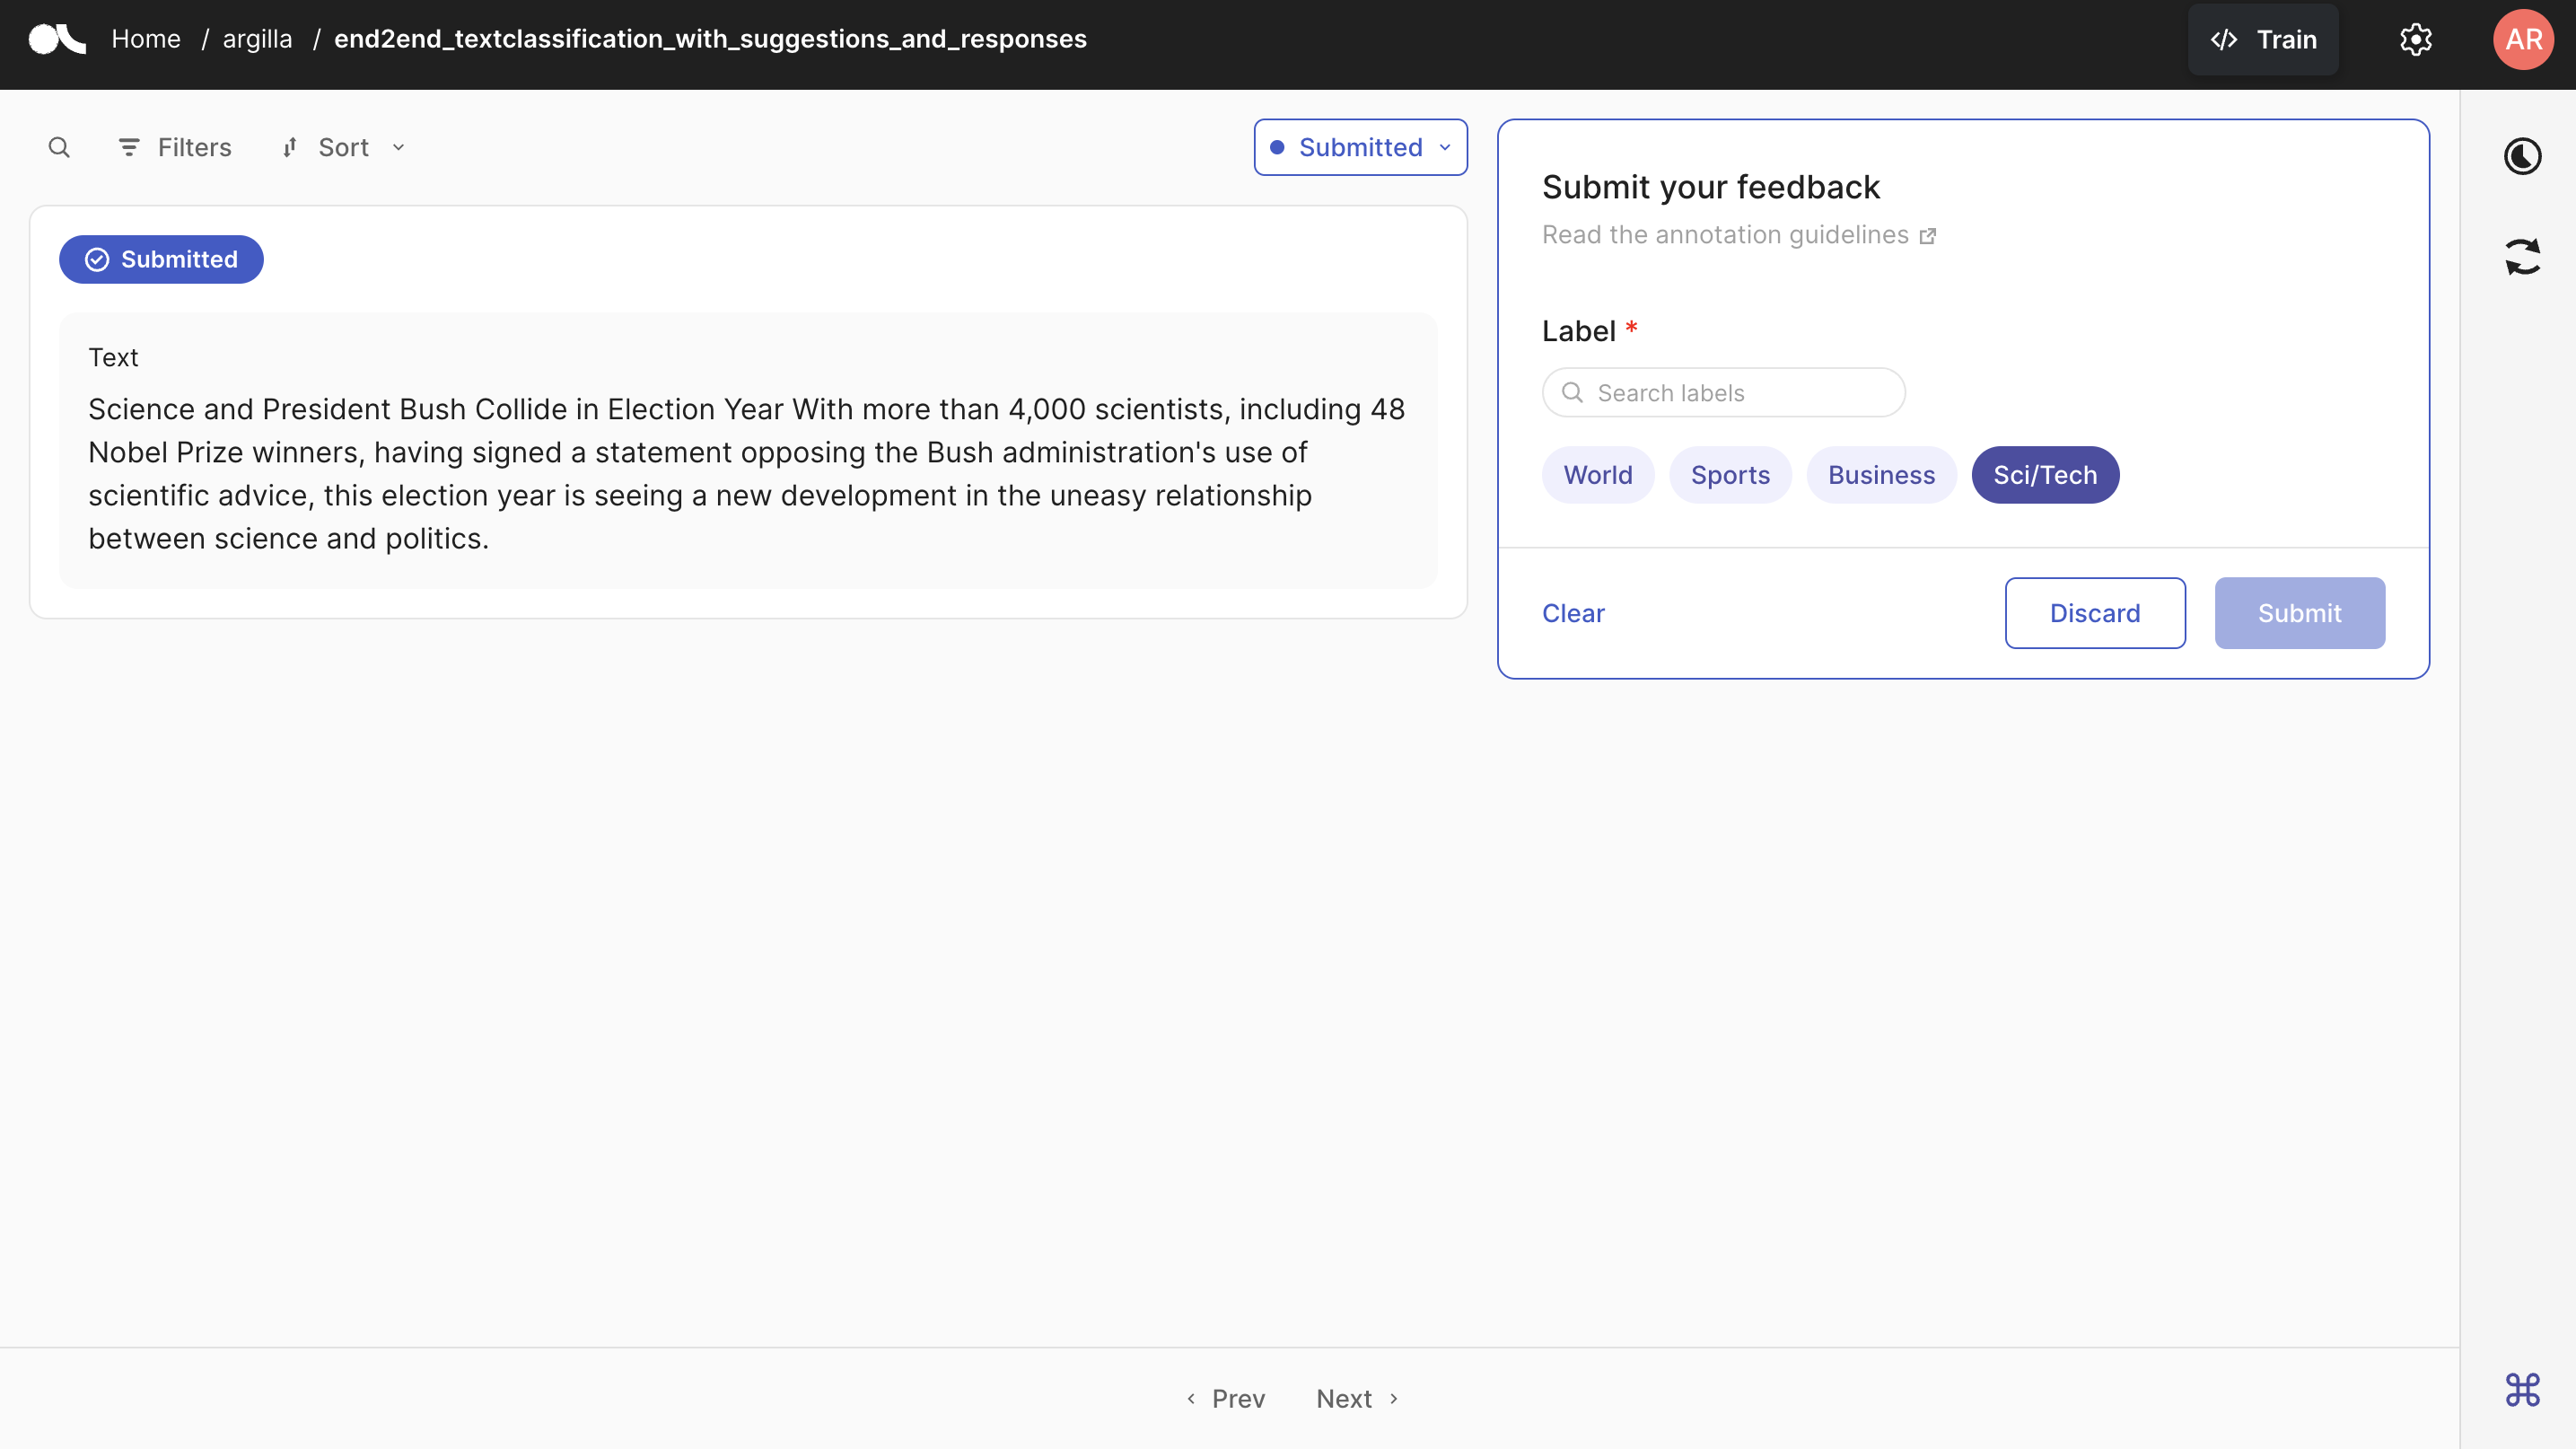
As all the records are submitted, we no longer see the suggestion for each one of the records. To demonstrate how they are seen, you can see the Argilla UI below where the record is not submitted yet and the suggestion (Sports in this case) is shown to the annotator.

To HuggingFace Hub#
If you would like to push the dataset you created to the HuggingFace Hub, you can simply use the push_to_huggingface method to upload it. Do not forget to create a model card as well, which will make the dataset more readable and understandable for the users.
To be able to upload your dataset to the Hub, you must be logged in to the Hub. The following cell will log us with our previous token.
If we don’t have one already, we can obtain it from here (remember to set the write access).
[ ]:
from huggingface_hub import login

login(token=hf_token)
We only need to call the push_to_huggingface method to push the dataset to HuggingFace Hub. If we have a dataset with the same name on the Hub, this method will update the existing one.
[ ]:
#papermill_description=push-dataset-to-huggingface
dataset.push_to_huggingface("argilla/end2end_textclassification_with_suggestions_and_responses", generate_card=True)
Conclusion#
In this tutorial, we have seen how we can add responses and suggestions to our dataset. Adding responses to your dataset given that you already have the annotated labels is a great way to save time and effort for your project. Similarly, adding suggestions to your dataset will make the annotation process much faster and easier for your annotators. We have seen how we can employ these tools for both FeedbackDataset and RemoteFeedbackDataset. Now, with the dataset we obtained, we can move
on to training our model and computing the metrics. For more detailed info on how to utilize various tools, please refer to our practical guides