🚀 Quickstart#
Welcome! If you have just discovered Argilla this is the best place to get started. Argilla is composed of:
Argilla Client: a powerful Python library for reading and writing data into Argilla, using all the libraries you love (transformers, spaCy, datasets, and any other).
Argilla Server and UI: the API and UI for data annotation and curation.
To get started you need to:
Launch the Argilla Server and UI.
Pick a tutorial and start rocking with Argilla using Jupyter Notebooks, or Google Colab.
Let’s get up and running with Argilla!
Running Argilla Quickstart#
For small scale projects and quick experimentation, there are two recommended ways:
👩🏽🚀 Argilla on Hugging Face Spaces#
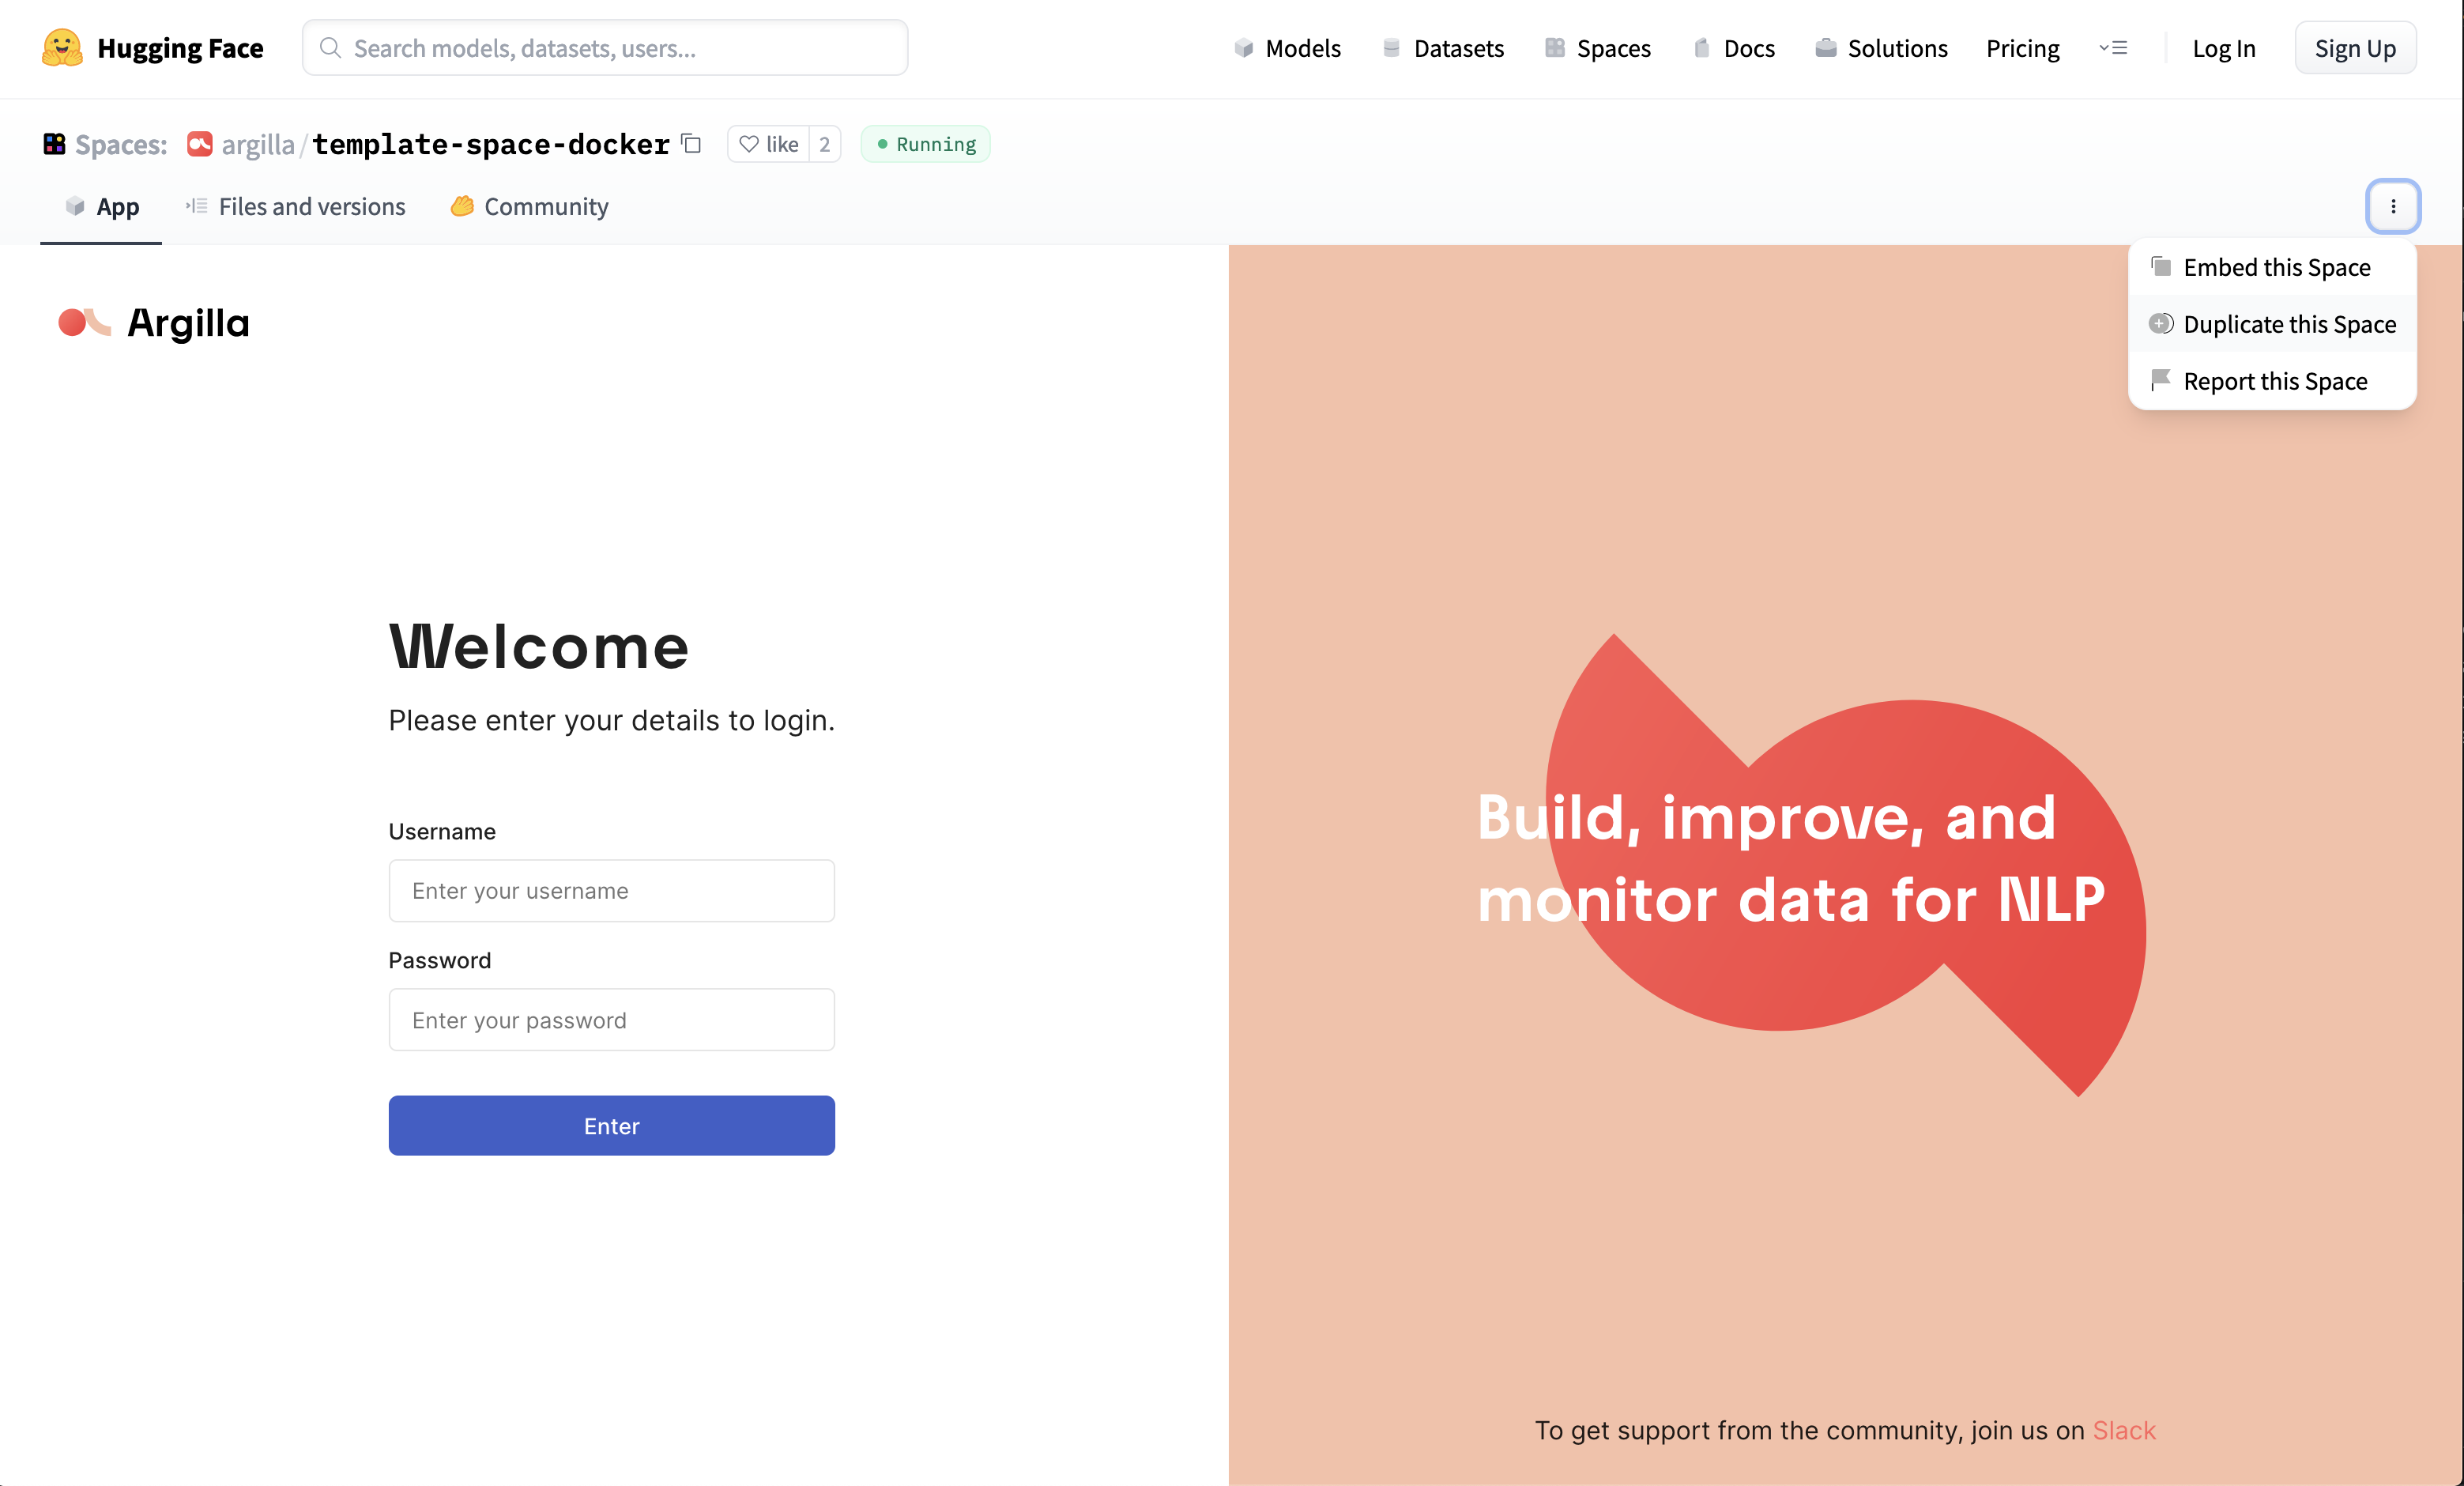
If you have a Hugging Face account and want to run Argilla workflows from Colab or remote notebooks, you can deploy Argilla on Spaces:

If everything goes well, you’ll see your online Argilla UI login page. You can log in with username admin and password 12345678. You can find the direct URL by clicking on the Embed space button. You’ll use this URL for sending data to your Argilla instance.
You are now ready to start playing with Argilla! As the next step, we recommend finding a tutorial. Once you have a found a tutorial, you can (1) use the Open in Colab button to run Argilla workflows with free GPUs, or (2) download the notebook using the link View source at top-right corner of each tutorial page, and run it using VS Code, Jupyter Lab, or any other Jupyter IDE.
Note
If you want to configure settings such as UI passwords and API keys, you can follow this guide. This is completely optional step if you want to just quickly experiment with Argilla, but it’s recommended for small projects as you can control who can browse, upload, and delete datasets.
🐳 Argilla Quickstart with Docker#
If you want to run Argilla locally on your own computer, this is the easiest way to get Argilla UI up and running. With this option, you’ll get some sample datasets to explore with Argilla UI, and a local Argilla UI running, which you can use to run your own Argilla data workflows using tools like VS Code or Jupyter Lab.
Note
You need to install Docker on your machine. We recommend installing Docker Desktop.
To run the Argilla quickstart container, you need to run this from your terminal:
docker run -d --name quickstart -p 6900:6900 argilla/argilla-quickstart:latest
Apple Silicon Issues
Apple Silicon M1/M2 users might have issues with this deployment. To resolve this, use the --platform linux/arm64 parameter. If this doesn’t work, deploying separate images or via docker-compose will work.
If everything goes well, you can go to http://localhost:6900 and log in with username admin and password 12345678. You’ll see several example datasets already pre-loaded. That means you are ready to start playing with Argilla!
As the next step, we recommend finding a tutorial, downloading the notebook using the link View source at top-right corner of each tutorial page, and run it using VS Code, Jupyter Lab, or any other Jupyter IDE.
For more details about setting up your Argilla Quickstart container follow this guide.
Other deployment options and configurations#
Argilla is highly configurable and easy to deploy on different environments. If you are looking for more advanced deployment options and want to have a more production-ready setup, you can read the Deployment and Configuration guides.
A default workflow#
If you want to go over a default workflow in argilla, check out basics guide.
Next steps#
If you want to continue learning Argilla:
🙋♀️ Join the Argilla Slack community!
⭐ Argilla Github repo to stay updated.
📚 Argilla documentation for more guides and tutorials.